


Table of contents
A side navigation bar is a pretty common feature in applications, and in this Angular tutorial, we'll explore how to construct one using ng-template. First, let's delve into what ng-template is and why it's a valuable tool for building our side navigation bar.
Ng-template is an Angular element that defines a template to be rendered only when prompted. It allows the inclusion of HTML code that can be utilized anywhere in the application. Additionally, variables can be passed to the template, enhancing code maintainability.
The code maintainability is crucial, and the DRY (Don't Repeat Yourself) principle advocates for coding elements once and reusing them. This not only streamlines code changes but also improves efficiency by avoiding redundant code. We'll apply these principles as we build our dynamic side navigation bar.
Let’s understand the ng-template while building our side nav.
We will start by creating a new angular project and opening it in VS code. Let’s call this project ‘sidenavDemo’.
ng new sidenavDemo
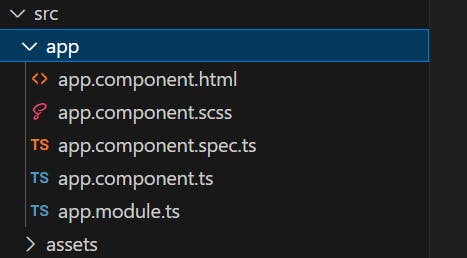
And the project structure initially looks something like this.
Let’s create a new component for sidenav, and call it ‘sidenav’.
ng g c sidenav
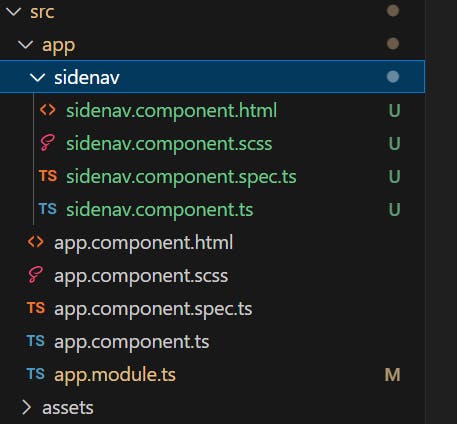
After creating the component, the project structure looks like this.
We have listed our menu items in a separate file named ‘sidenav-items.ts’.
export const SIDE_NAV_ITEMS = [
    {
        _displayName: 'Home',
        _url: '/home',
        _selected: false,
        _icon: 'home',
    },
    {
        _displayName: 'Portfolio',
        _url: '/portfolio',
        _selected: false,
        _icon: 'folder',
        _members: [
            {
                _displayName: 'Residential',
                _url: '/residential',
                _selected: false,
                _icon: '',
                _members: []
            },
            {
                _displayName: 'Civic & Culture',
                _url: '/civic-culture',
                _selected: false,
                _icon: '',
                _members: []
            },
            {
                _displayName: 'High Rise',
                _url: '/high-rise',
                _selected: false,
                _icon: '',
                _members: []
            },
            {
                _displayName: 'Hospitality',
                _url: '/hospitality',
                _selected: false,
                _icon: '',
                _members: []
            },
        ]
    },
    {
        _displayName: 'Commision',
        _url: '/commision',
        _selected: false,
        _icon: 'payments',
        _members: []
    },
    {
        _displayName: 'Projects',
        _url: '/projects',
        _selected: false,
        _icon: 'rebase',
        _members: []
    }
]
If you pay attention to the menu items, you'll observe that items are nested.
We’ll have to create a model for the menu items. Let’s create one.
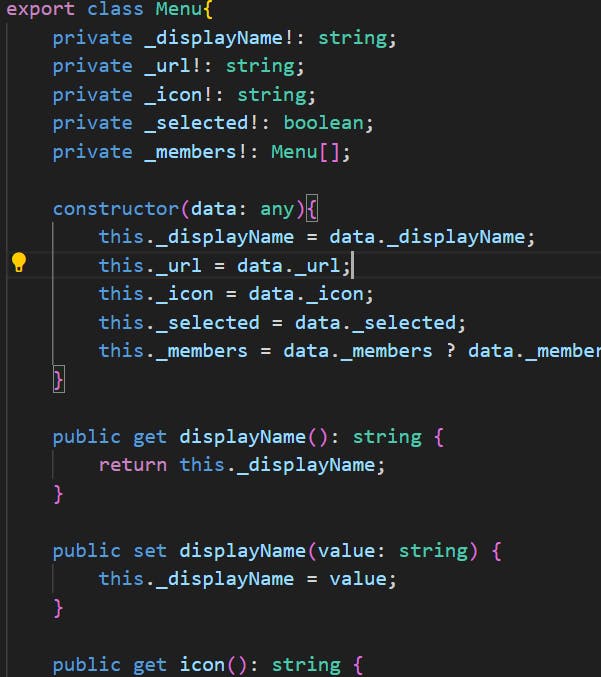
Observe that, the field member is self-referencing the Menu class, because the menu items are nested.
Now, let’s come to the part for which we are here. Let’s first understand how a template actually works by creating a simple template.
<ng-template>
  <p>Hello World</p>
</ng-template>
The above template will not render independently. We have to call the template using Angular's built-in directive ‘ngTemplateOutlet’. To specify which template I want to call, we have to mention the id of the template like this.
<div *ngTemplateOutlet="helloWorldTemplate"></div>

<ng-template #helloWorldTemplate>
  <p>Hello World</p>
</ng-template>
This is great, but it can only render the text “Hello World”. What if I want to change the text dynamically? Angular allows us to give context (it is like an input variable in functions ) to the template. Let’s see how that works.
<div *ngTemplateOutlet="helloWorldTemplate; context: {text: 'Hello Universe'}"></div>

<ng-template let-text="text" #helloWorldTemplate>
  <p>{{text}}</p>
</ng-template>
Great. We’ve understood the basic workings of ng-template, now, let’s build a template for our side nav bar.
If you look closely at the sidenav-items.ts file, you will observe that our side nav items are nested. So, we have to make our template keeping that in mind. We will make it in a recursive manner. (sort of like a Recursion Algorithm). This recursive approach ensures flexibility and scalability, especially for large applications.
<div class="sidenav" #sidenav>
    <ul class="menu" *ngFor="let item of menuList">
      <li class="menu-item" *ngTemplateOutlet="menuTemplate; context: {data: item}"></li>
    </ul>
  </div>


  <!-- template for menu items -->

  <ng-template let-data="data" #menuTemplate>

    <!-- If menu items does not have any child members -->
    <div class="menu-with-icon" *ngIf="data.members.length === 0" riFxLayout="row" riFxLayoutGap="10px" riFxLayoutAlign="flex-start center">
      <i class="material-symbols-outlined">{{data.icon}}</i>
      <p (click)="itemClicked($event)">{{data.displayName}}</p>
    </div>

    <!-- If menu items does have any child members -->
    <ng-container *ngIf="data.members.length !== 0">
      <div class="menu-with-icon" riFxLayout="row" riFxLayoutGap="10px" riFxLayoutAlign="flex-start center">
        <i class="material-symbols-outlined">{{data.icon}}</i>
        <span (click)="itemOnClick($event)" class="expandable">{{data.displayName}}</span>
      </div>
      <ul class="submenu nested">
        <ng-container *ngFor="let item of data.members">
          <li class="submenu-item" *ngTemplateOutlet="menuTemplate; context: {data: item}"></li>
        </ng-container>
      </ul>
    </ng-container>
  </ng-template>
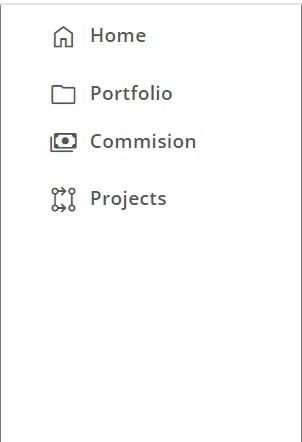
After Running the code, our side nav looks like this.

This doesn’t look pretty. Right? Let’s put some CSS and Javascript event handling on this. after that, it looks like this.
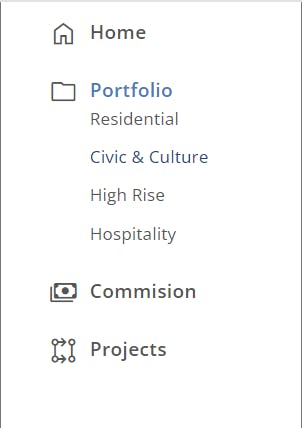
You might wonder why we chose ng-template over conventional HTML. The key lies in code maintainability. If, after a month, you need to modify the side nav items, you can simply update the 'sidenav-items.ts' file without touching the HTML. This approach minimizes errors and streamlines the maintenance process, particularly in larger applications.
Conclusion
By leveraging ng-template, we've created a dynamic and easily maintainable side navigation bar in Angular. This tutorial emphasizes the significance of code structure, reuse, and adaptability, providing a robust foundation for scalable applications.